Follow these steps to create a new student...

Tap on your class to open it.
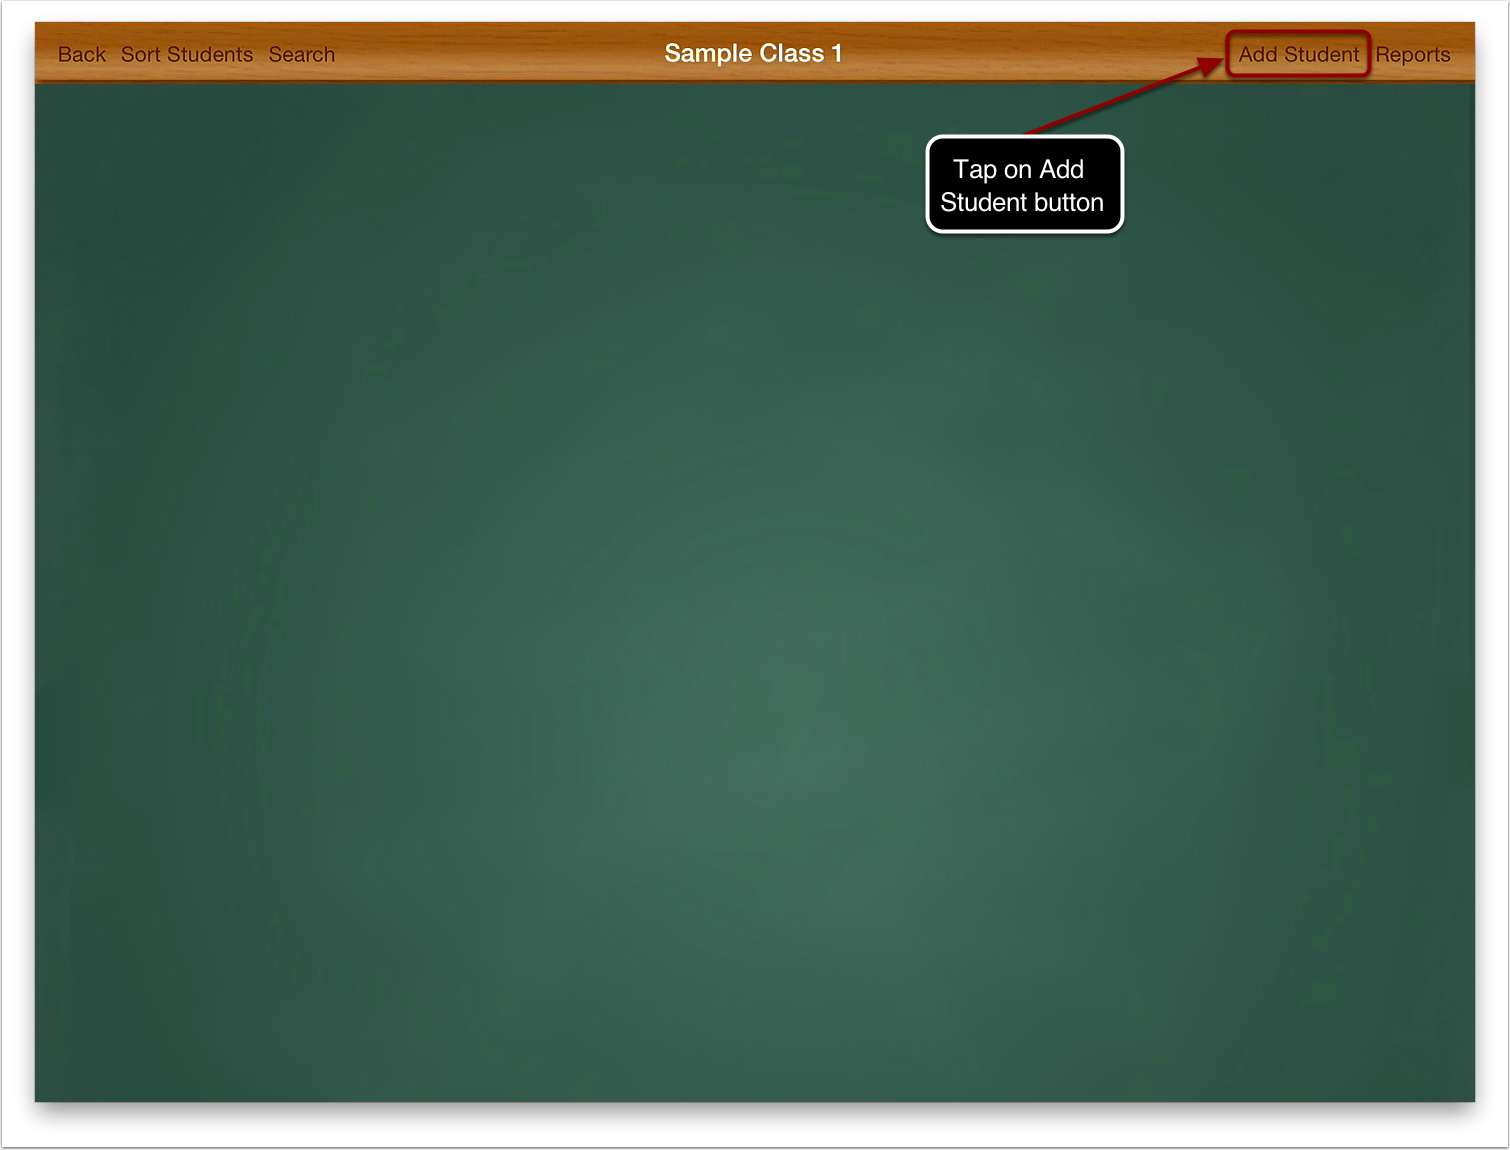
Tap on the Add Student button to create a new student.

Tap on text boxes and buttons to fill out information about the student.

Press the photo frame to add a picture of the student. You can either use the camera of chose a photo from the photo album. Note: the original iPad does not have a camera.

You can move and scale the photo using your fingers to get the photo just right. When you are happy with it press the Use button to save it.

Press the class button to save your student and return to the class view.

You have successfully created your first student in your class.